Calibrators for operators of industrial processes
Industrial processes are based on the use of various sensors, the parameters of which may change during operation. To avoid potential problems, it is necessary to conduct regular calibration of process automation systems. It may be different and it may require different tools, depending on the interface and the sensor under inspection.
Sensors used in processes are characterised by a defined level of accuracy and measurement range. The range of values measured — whether environmental or electrical — is transformed by the sensor into electric signals of an appropriate standard.
The most common communication interfaces are:
- voltage output,
- current loop.
Some sensors use digital interfaces, e.g. HART, and advanced data transmission protocol that can work automatically or can be configured manually.
The signal from a voltage output usually has the value of 0V to 10V, which refer to the limits of a measurement range.
In case of current loops, usually output signal is between 4 and 20 mA, but there are also sensors scaled from 0mA to 20 mA.
Specific output signals come from thermocouples, where the scope of output voltage reaches several millivolts, and depends on the type of thermocouple used. It also happens that the sensor output has variable resistance, referring to a certain measured value, e.g. temperature. The goal of a calibrator is to simulate the operation of various sensors and to precisely measure their readings.
Types of calibration
Calibration of a sensor depends on the type of component, but it should comply with appropriate ISO standards, like the one used in this procedure.
You need to remember that in order to be sure of the accuracy of a measuring instrument, you need to calibrate all of it, i.e.:
- the sensor,
- the component responsible for translating an electric signal to a given numeric value.
What is more, if e.g. your sensor is a thermocouple, the entire set needs to be calibrated, along with signal wires, in order to consider their impact on the result.
Calibration procedure depends on the type of calibrated component.
Calibrator should be switched to appropriate work mode, in order to match it with a given procedure. For instance, when calibrating a pressure sensor with a voltage output, the calibrator should be switched to voltage measurement, and the sensor should be subjected to external signals with verified parameters. This lets you read the measured results for the generated signals and compare them with default values. Thanks to that, you will be able to verify any inaccuracies.
Calibrating a converter that converts an electric signal to a numeric value (a meter) is a bit easier, as there’s no need for using any additional devices to generate signals. In such a case, the calibrator is the transmitter of the signal that is measured by the calibrated device, and the results are compared against the values generated by the calibrator.
Read also: Calibrating electric values
The most automated calibration can be conducted for:
- converters connected to thermocouples or
- resistance thermometers.
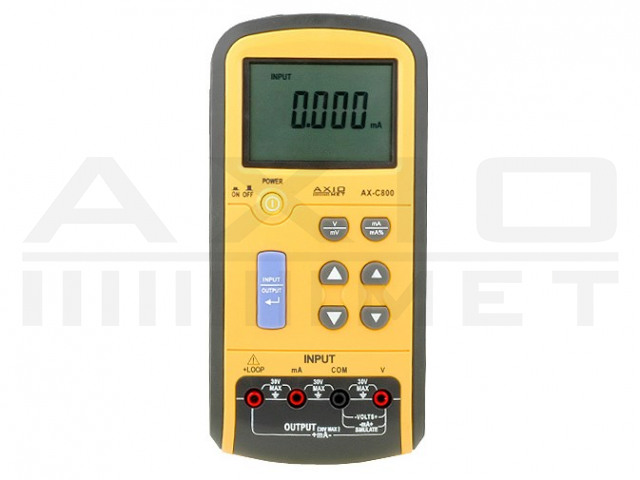
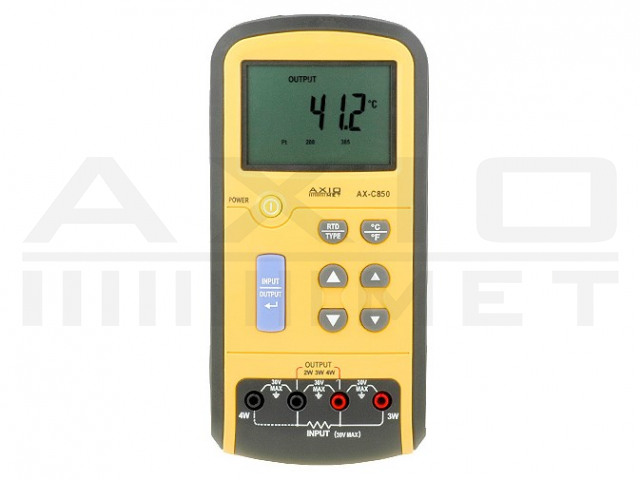
A calibrator (e.g. AX-C830 or AX-C850) works simultaneously as a sensor simulator and as an input signal meter. As a result, it can deliver generated signals and measure the values of e.g. the current in a 4…20mA loop on its own.
Typical calibration procedure
It is recommended to divide calibration into three stages:
- First, if possible, a signal with the value of the lower limit of the measurement range should be generated,
- Next, a signal with the value of 50% of the scale should be generated,
- Finally, a signal with the value of the upper limit of the measurement range should be generated.
After measuring the deviation, you need to define actual signal values, at which the input signal should reach the lower and upper limit (e.g. 4mA and 20mA), which means you need to define the offset and the method of rescaling the values measured.
Finally, it is a good idea to use the calculated ratios to re-check the results for three or five measurement points to be sure that the results are accurate enough.
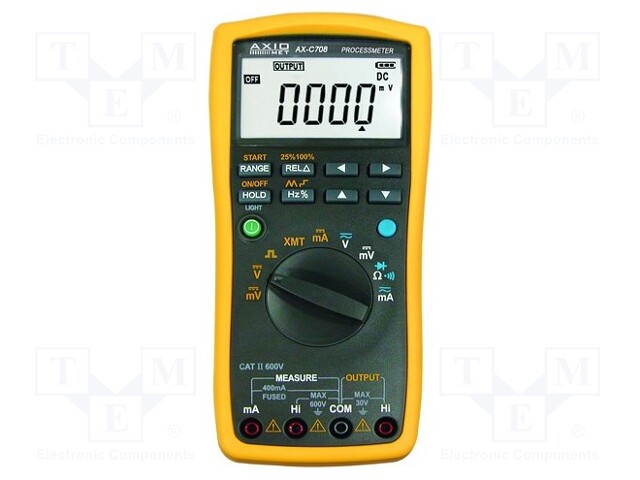
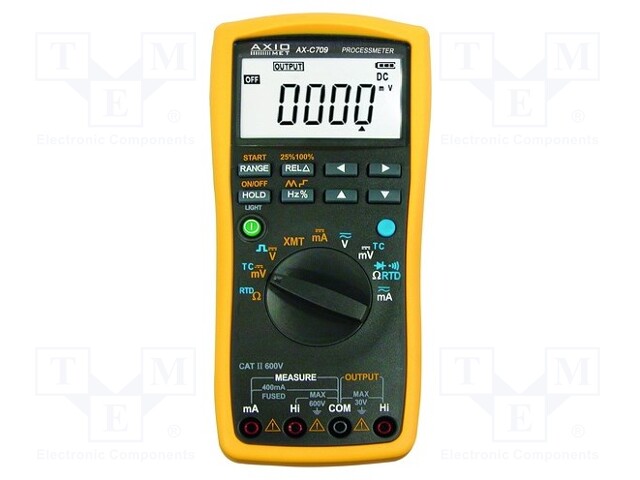
5-point measurements (i.e. with a 25% step), may be conducted with the use of basic calibrators from Axiomet, such as AX-C605 or AX-C705.
Summary
Stored and regularly updated adjustments to process sensor indications allow you to ensure the high accuracy of your devices and industrial processes. Also, calibrators offer the documentation functionality, which may be helpful as it stores the data on a conducted calibration in accordance with ISO standards. Due to all of this, calibrators are necessary for operators of modern industrial processes.
Based on the test results conducted with the use of these devices, you can pinpoint the components in a production line that do not work correctly and have to be replaced.


